Showing posts with label using French silk dyes. Show all posts

Sunday, November 24, 2019

Blue, Green, and Aqua Impressionistic Hand-painted Silk Scarf

     This impressionistic blue blend scarf is a new favorite--in fact, one I plan to keep for myself. It is especially pleasing that it is a rescue of a scarf that went wrong (see earlier post about that mistake). The white and misty aqua background that was left after I removed the messed-up gutta seemed perfect to re-do in a scarf with a blue, green, and aqua swirling print.
Close-up of one end

Close-up of other end

     After choosing the palette and blending the colors I had tested and wanted to use, I wet the entire scarf well. Then, with a soft brush, I swirled the colors on in a sort of "planned random" way with a bit of unpainted area between many of the swirls so that the hues would flow together without too much mixing. I didn't want the colors to muddy each other or to blend too much. Once that looked satisfactory, I deepened some blue areas and quickly sprinkled kosher salt over while the areas were still quite wet. Using salt on wet French silk dyes works a kind of magic as the scarf dries, producing jagged lines, star burst effects, and concentrated darker spots. Sometimes, I do further modification of the colors or pattern after I see how the scarf looks dry. It would have been a mistake to tamper with these results; in my opinion, it is lovely just as it is. Now it's getting hard to wait to wear it; five newly hand-painted silk scarves are ready to be steam-set. One more, and I can load up the steamer and complete the finishing processes.
Close-up of center
By the way, I will have one or two more posts about our trip to the Grand Tetons and Yellowstone, but took a break to show you this newly painted scarf.

Question of the Day: Do you prefer defined patterns on silk, such as tulips or starfish, or a more abstract or impressionistic look?

Tuesday, July 30, 2019

Hand-painted Tropical Leaf Silk Scarf with Varied Greens on Blue Background

Tropical Leaf Silk Scarf in Varied Greens on Blue Background
     The idea of painting a design of tropical leaves on a silk scarf has been in the back of my mind for awhile. Recently, I completed this 60" x 11" scarf in blue and varied green hues after a number of sketches finally resulted in a design I liked. I blended several shades and hues of green for the leaves, because I wanted to make the scarf more useful, more likely to look nice with different outfits. The leaf designs were inspired by photos of plants in some of my husband's botanical books and from direct observation of plants in our coastal north Florida neighborhoods.

One end of tropical leaf scarf
     I don't know why I draped the scarf on this old couch for its photos, but have decided it doesn't look too bad there. The final steps to finish the work-- steam-setting the dyes, removing the gutta outlines in a naphtha soak, washing and pressing--are not yet done. However, I thought you might like a look at it anyway.

Other end of tropical leaf scarf
     All the colors, including the blue background, are blends of liquid French silk dyes. I love experimenting with colors and color combinations and am rarely disappointed with the results of the blends I've planned--although it can take some "tinkering" to get the shade where I want it. 

     I painted a very light, watered-down blue on the entire white scarf blank first, then outlined all the leaves and stems with gutta resist (more information on using gutta in the third paragraph of this post). That way, the outlines have some color, rather than just being white. The lighter leaves are a pale green painted over with yellow (which tends to push other colors away and creates a nice variegation in hues). The large philodendron leaf is several layers of olive. The smaller vine leaves are a blend of greens, again layered until the depth of color seemed right. The heart-shaped larger vine leaves are a blend of green and blue. I gave each of the leaves one coat before "drawing" the veins with gutta resist; that way the veins would have more color, rather than just retaining the light blue of the first coat of the background. Last, I finished the final coat or two of the blue background, randomly stroking a true blue over aqua, then blending them for a watery, varied appearance. Now this will join a couple of other scarves in the studio closet until I have enough for a steamer batch to set the dyes.

Question of the Day: What sort of scarf design would you like me to try next?


Sunday, September 16, 2018

Brown, Rust, and Beige Hand-painted Silk Scarf Using Shibori Technique

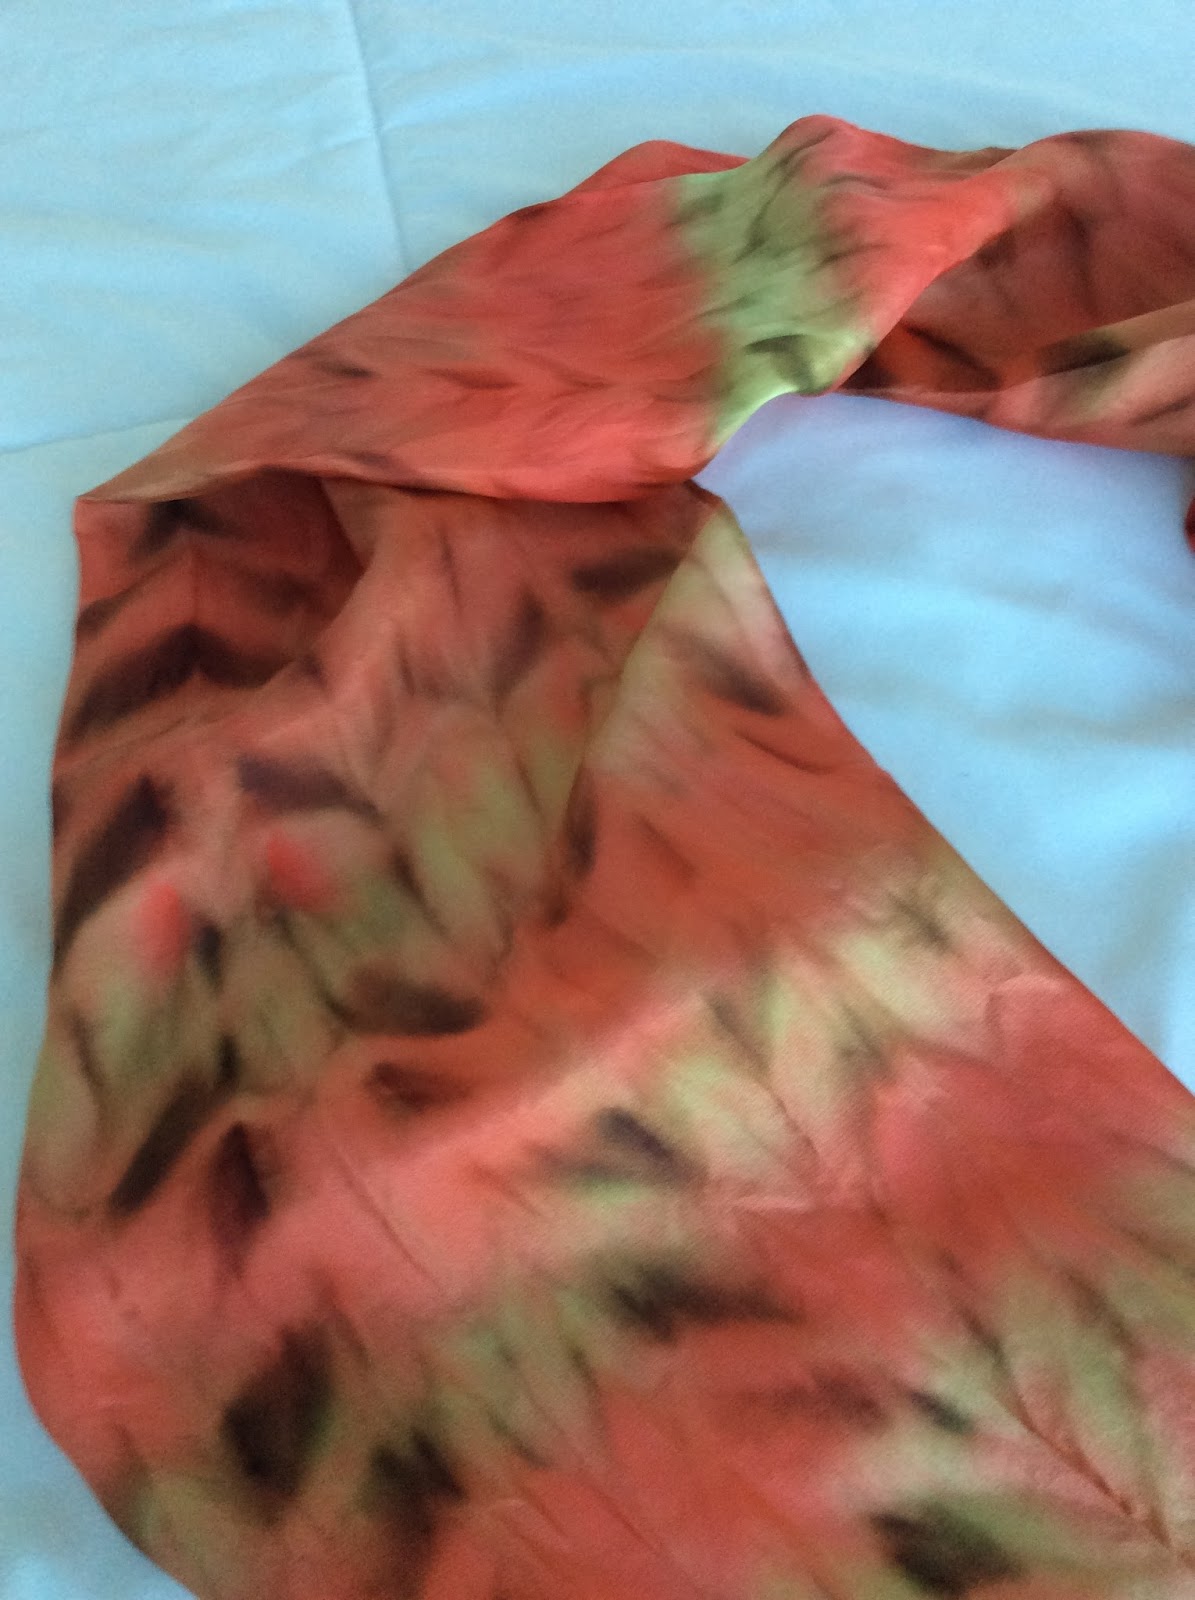
     Using two new dye colors from a recent order as well as a deep brown already in my stock, I experimented with another Shibori technique somewhat similar to the flag fold technique I used for a coral toned scarf. I was delighted with the results--once again a complete surprise for me as a newbie to this style of silk dyeing. In fact, I couldn't wait to show this scarf to you. The dyes still need to be steam set, which will make the colors even richer. Then the scarf will be ready for its first thorough washing and careful pressing. Here, it still sports its Shibori folds.


center section detail
     The scarf's rich tones resulted from two factors. One is the inherent beauty of these French silk dye colors. The other was my concern that the dyes were not penetrating deeply enough into the folds, leading me to soak certain areas with additional dye. For this scarf, I was trying to color it all, not to leave any spots white.

     These techniques are wonderful and sort of magical. The dye flow follows the folds and settles more heavily on the edges of the folds as the silk dries. I do not think that even an experienced Shibori artist could control or predict the exact design results. With less color saturation, this particular folding pattern produces a simpler chevron design. Obviously, my heavier use of dye resulted in a more complex final pattern.


detail from one end
detail from the other end
     A few more details for those of you who are interested in my process: I folded this 11" x 60" silk scarf lengthwise just four times rather than the six times used on the coral scarf. Then, the diagonal folds were made in a back and forth triangular pattern rather than the flag fold used on the ends of the coral scarf. Each fold was pressed as I worked. The result was a long folded strip rather than the triangular packet of the flag fold technique. I folded the strip in half lengthwise, soaked it with water, and placed it in a large aluminum foil pan to dye. Soaking a brush (about 3/4" wide) in one color after another, I saturated various areas, some larger than others. The scarf air-dried for more than 24 hours. When I unfolded it, magic!

     There is a link to an earlier post about the flag folded coral scarf above. One other Shibori inspired scarf using a twisting method stars in another previous post. Both posts credit the author and book that guided my experimentation; this brown, rust, and beige scarf also followed directions from that wonderful book, adapted my own way.

Question of the day: My landscape painting and silk scarf dyeing and painting give me a variety of creative experiences, some mostly under my control and some free form and surprising like Shibori dyed scarves. Do you prefer one kind of creativity over the other--loose or controlled? I thrive on both.


Tuesday, May 29, 2018

Coral and Rose Hand-painted Silk Scarf Using a Shibori Technique


The completed silk scarf
     This hand-painted silk scarf was an experiment using a technique derived from traditional Japanese shibori silk dyeing methods. For the 60" x 11" silk scarf, I chose three dye colors, an orange-toned coral, a mix of coral and yellow, and rose. 

     To make this design, I accordion-folded and ironed the blank white scarf lengthwise in 6ths and then folded it back and forth in triangles somewhat like the ceremonial folding of a flag, ironing the folds as I worked. I used wooden clothespins to clip the three corners and hold the folds in place. The exact directions (with diagrams) are in Fabric Surface Design by Cheryl Rezendes (from our wonderful public library). In a previous post, I showed you a scarf made by twisting before dyeing, the idea taken from the same book.
When scarf is first unfolded
Center section-vertical folds only

     Only the ends of the scarf were folded, which was not my plan, but happened because folding the entire scarf would have made too thick a bundle to handle. I knew that leaving a section in the middle simply accordion-folded would also create a nice effect and would give the scarf some variety. 

     Also an accident (this was my very first effort at a folding technique, after all) was the different color saturation of the two ends of the scarf. After making and clipping the flag folds, I set one edge of the folded triangle in a flat dish with about 1/4" of dye in it (as the book directed). It all promptly fell over, soaking that part in coral dye. I quickly pulled it out and used a brush to soak each of two sides of that triangle with each of my other colors (on top of the unwanted extra coral). On the other end, I just saturated the three edges, each with one of the three colors (no dish of dye=no danger of the bundle taking an unintended swim).
The end that "took a bath" in coral dye
The second end completed--brushed on color only

    Finally, I brushed a generous amount of dye on the edge of each long strip in the center section and let the whole thing dry for a couple of days. 

     I enjoyed this experiment and will be better prepared to make a future scarf using the flag fold technique--perhaps one with only 4 lengthwise folds and with different colors.

Question of the day: What recent creative experiment have you enjoyed?

Saturday, March 31, 2018

Coral and Olive Twist--a Hand-painted Silk Scarf

Coral and Olive Twist Hand-painted Silk Scarf
     I made this silk scarf in coral, sage, and olive hues by a different method than my usual technique of painting on a scarf stretched on a frame. For this scarf (and one other I'll show you soon), I used twisting or folding techniques that do not require a stretcher frame.

Another view, before the scarf was steam-set and pressed
     The technique came from a library book. The "Fold and Color" chapter in Fabric Surface Design by Cheryl Rezendes (published in 2013) presents step-by-step guidance for a number of  designs--some have roots in Japanese shibori hand-dyeing and others are reminiscent of tie-dyeing. 

     For this scarf, I twisted a 60" x 11" plain white silk scarf tightly (the author suggested fastening one end to something; instead, I asked my husband to hold one end while I twisted the other). Eventually, the twisted scarf began to fold in on itself; at that point, I folded the twist in half lengthwise and secured the ends together with a rubber band.


Detail view
     Placing the twisted bundle on a plastic tray, I then used an eye dropper and sometimes a brush full of paint to drop coral and olive dyes alternately (but not in a perfectly even pattern) on the folds of the twist. I soaked the areas well with dye, but with uneven saturation. Sometimes I let the colors run together, which I knew from earlier testing made a nice brownish hue. Of course, I turned the twist over and made sure all sides had adequate dye.

     After letting the scarf dry thoroughly (it took a couple of days until I had time to go back to the project; it was probably dry after 24 hours or so), I opened it out to discover the pattern you see here. Since I used French silk dyes, the scarf required steam setting, so I waited until I had 3 other pieces to make a batch. Then, I steamed, washed, and pressed it.

     For those interested, I obtain all my silks, French silk dyes, and other tools and supplies at Dharma Trading and have had excellent service from them. These two colors, Olive Green and Coral Red, are Tinfix brand, made in France by Sennelier. Some of my dyes are made by Dupont, a former French company I believe is now in Belgium.

Question of the day: Do you haunt the library and sometimes find fun how-to books there, or do you use information or videos from the internet--or both?

Wednesday, January 31, 2018

Purple Tulips on Blue Background, a Hand-painted Silk Scarf

Blue hand-painted silk scarf with purple tulips
     Newly completed, this 11" x 60" hand-painted silk scarf features purple and purple-variegated tulips on a rich medium blue background. The clear green leaves add even more versatility in terms of coordinating it with various outfits.

     For those of you who are interested, I'll outline the steps of the painting process for this scarf next.

     After some careful study of tulip photos in botanical books and referring to some outline drawings (free for anyone on the Internet), I drew my own outline designs of stands of tulips on heavy paper in the exact size of the intended scarf designs--one for each end of the scarf. Then, using the drawings as a guide, I "drew" onto the scarf with a small squeeze bottle of gutta--not an easy process (see more about gutta below). The blank white scarf is stretched on a frame while I work on it.
Closer detail of one end
Closer detail of the other end

     Once the gutta dried, I painted the first layer of color in the outlines of the leaves and the solid purple tulips. Next came gutta-drawn details inside the outlines (to divide the individual tulip petals and the various leaves from each other). Then I added further layers of color to deepen the tones, shade some areas, and differentiate the details (the French silk dyes I use stay semi-transparent up to 6 or 7 layers of color). The variegated tulips required smaller strokes of color which were then blended out with a water-soaked brush.


A different view of the scarf
     In these photos you see the scarf completed up to that point. The final steps will take several more hours of work. I will wrap this and four other hand-painted scarves in separate layers in heavy newsprint (very carefully to avoid steam-set creases) for an hour or more of deep steaming to set the dyes. 

     Then I'll remove the gutta resist that outlines the design. Gutta (a rubber based resist) protects a design or separates areas from each other, preventing colors from running together. It can only be removed by dry cleaning or (what I do) soaking in a jar with naphtha. Finally, I'll wash the scarves in a special, gentle liquid soap, dry, and press them. Whew--one-of-a-kind, hand-painted silk scarves ready for someone to wear.

Question of the day: There are many styles of blog posts. Mine combine photos and a fair amount of text. Are you a blog visitor who prefers to look at photos quickly and maybe a sentence or two, or do you enjoy more text for the times you are interested in some explanation?

Thursday, October 20, 2016

Hand-painted Purple, Yellow, and Green Silk Scarf with Clematis Flowers

     This hand-painted 11" x 60" silk scarf was inspired by the lovely flowers on clematis vines. Of the various varieties in our botanical reference books (oh, the gorgeous photos!), I decided to represent one with six-petal blossoms in shaded purple tones. My silk painting technique, using French-style dyes, does not allow for perfection in reproducing nature exactly; the results are more free-form or impressionistic. But these flowers look more like the photos than some (for example, I used a different approach for an earlier scarf with a loose painting technique; they are not meant to be like any "real" flowers).

     Rather than describe all the details of the process, I'll summarize and readers who want more can follow links to more extensive explanations. To avoid pure white gutta outlines, I painted the entire scarf with pale yellow and yellow-green, wet-on-wet, before any drawing and let the piece dry. Then, with preliminary sketches as a guide to shape and placement, I lightly drew in the flowers and leaves with a water-soluble fabric pencil and then traced the design with gutta resist.

Closer view of design details
     The flowers and leaves took several layers of dye to gradually deepen and vary the shades and tones. I used a permanent fabric marker for the vines and a few other small details.

     Painting on silk is always a discovery process, and I am still learning and growing in the art. This particular scarf turned out well, I think, and I am using a similar approach to create an autumn leaf design. Stay tuned.

Question of the day: For scarf wearers, what sorts of designs do you like best: flowers and other themes from nature, abstract, geometric, or other?


Wednesday, August 31, 2016

Hand-painted Rose, Purple, and Blue Silk Scarf

     I have almost completed 3 more hand-painted silk scarves, all 60" X 11", a nice all-purpose length to tie and wear in multiple ways. This particular scarf was painted without resist, so the dyes were free to flow. I will show you the other new scarves, which did involve using resist to create designs, in coming weeks. For a couple of other examples painted without resist, see this previous post.

Another view, same scarf
     Sometimes, I purposely allow for the unpredictable jagged edges that can form where two different colors come together (especially if one is already dry), which often create beautiful, sometimes unexpected patterns. You can see such edges in the apricot/green 21" square scarf pictured below. 

Professional fabric steamer, about 42" long
     However, I decided to minimize those kinds of edges in this design. One can achieve subtler, smoother color transitions by working very quickly and rubbing adjoining areas with a paper towel. Or, as in this design, one can work wet-on-wet, spraying the white scarf with water before adding colors. For this scarf, I painted the dyes on a wet scarf blank. I experimented with colors and techniques, intending to gradually build up colors to a darker level. Then, the softer, pale colors appealed to me, especially after my friend agreed, saying "It looks like Spring". So, I decided to declare the scarf complete. 

Example of the jagged edges resulting from painting on dry scarf with no blending
     The final step is to steam-set the colors. Many fabric dyes can be set with a steam iron, and some set instantly when painted onto fabrics. But the loveliest and most intense colors, in my view, result from the French-type silk dyes, which must be set in a steamer--either purchased or created by the artist. My generous husband gave me a professional fabric steamer for Christmas--see photo--which greatly simplifies the process (although it is still painstaking and requires several hours altogether). If any of you request more information about the steaming process, I will post more detail in the future.

     Making this scarf was fun. I had only a simple sketch with the idea of color areas and a plan for the dye colors I would use (some straight from the bottle, others mixed for the desired hue). From there, I just spread color freely on the wet silk and watched the design develop--now and then blending the areas where colors came together with a large wet brush or a paper towel. Finally, I brushed on some additional soft contrast strokes and shapes.

Question of the day: In pursuing a hobby or interest, do you prefer trying new techniques and styles or polishing and perfecting your favorite approach?

Sunday, March 13, 2016

Three Hand-dyed and Painted Silk Scarves

     Although I have enjoyed making 22" x 22" square scarves (earlier scarf posts here), I wanted to make long scarves even more. However, it took awhile until I had room for the long stretching frame required to work on them. Here are the first to be completely finished; each measures 11" x 60". 

     Each one was an experiment, as I am still a learner in this art form. The yellow and dark blue scarf was free-painted with no resist to separate areas of color from one another. I first painted the entire scarf deep yellow, let it dry, and then lightly sketched the lattice design in water soluble fabric pencil before painting several layers of deep blue dye in all pattern areas.

     Gutta resist defined the patterns on the other two. The brown, turquoise, and blue color-block scarf first got a coat of very light (watered down) brown overall. Once it was dry, I used a water soluble fabric pencil to mark off the areas according to a scale model design I had sketched out ahead of time. I followed the lines with gutta resist, applied fairly thickly, and let that dry well. Finally, several layers of each color filled the blocks according to my plan. I am pleased with the design and plan to make it again in different colors, maybe pink, rose, blue, and purple.

     The flower design began differently with free-form flowers brushed on the white scarf. Then, I outlined the designs with gutta, staying mostly on the edges of dyed areas to avoid all-white outlines. I deepened the colors within the lines and added a few extra details in the petals and centers. The blue and green background was the last step and gave me fits because of some wayward drips and streaks. Once dye is on the silk, it is there to stay--virtually impossible to remove without streaking the areas around it. So, I gathered up my courage and tried brushing on just water to blend everything, adding just a bit of dye to vary and blend the background colors. Whew! It turned out pretty well compared to the earlier unsightly spots.

     If readers are interested, I will post more in the future about the various finishing steps involved in steam-setting the French dye colors, removing the sticky gutta, washing and ironing the completed scarves.


Question of the day: Do you enjoy experimenting with new crafts or art forms--even the painful parts of watching things go wrong and learning from the process?