Showing posts sorted by relevance for query shibori. Sort by date Show all posts

Sunday, September 16, 2018

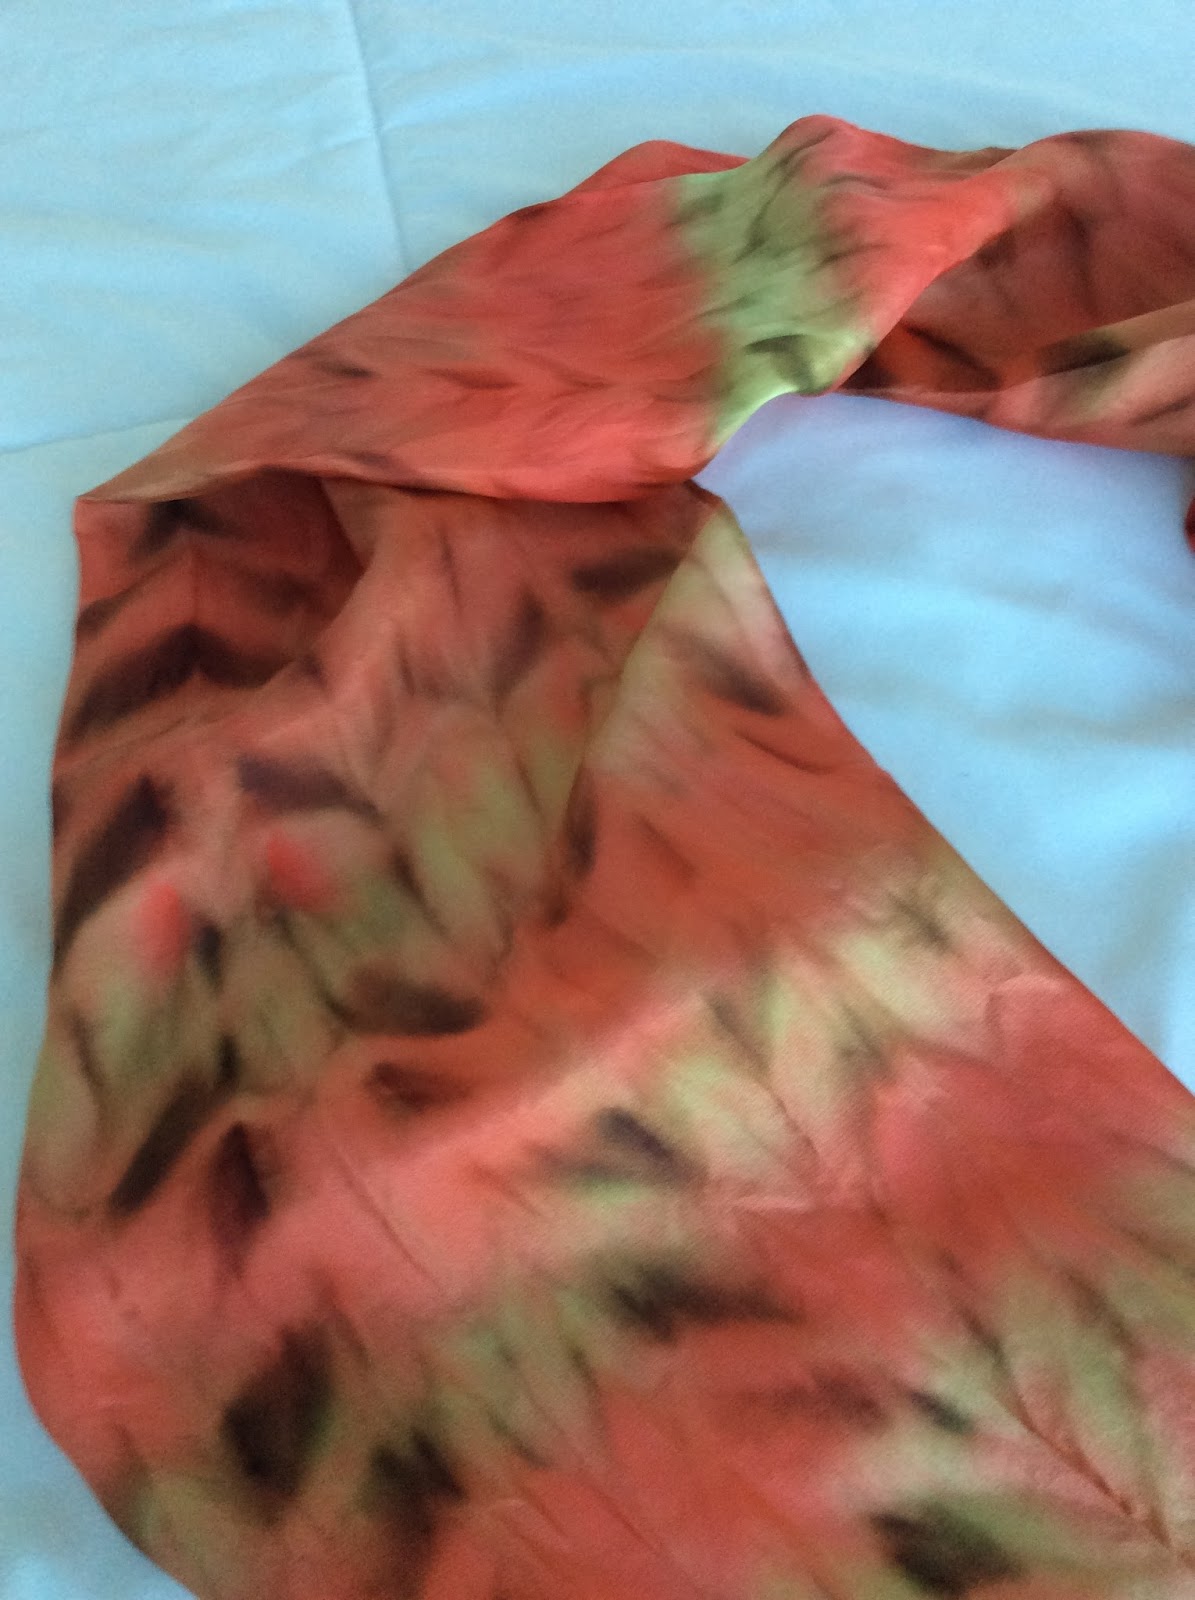
Brown, Rust, and Beige Hand-painted Silk Scarf Using Shibori Technique

     Using two new dye colors from a recent order as well as a deep brown already in my stock, I experimented with another Shibori technique somewhat similar to the flag fold technique I used for a coral toned scarf. I was delighted with the results--once again a complete surprise for me as a newbie to this style of silk dyeing. In fact, I couldn't wait to show this scarf to you. The dyes still need to be steam set, which will make the colors even richer. Then the scarf will be ready for its first thorough washing and careful pressing. Here, it still sports its Shibori folds.


center section detail
     The scarf's rich tones resulted from two factors. One is the inherent beauty of these French silk dye colors. The other was my concern that the dyes were not penetrating deeply enough into the folds, leading me to soak certain areas with additional dye. For this scarf, I was trying to color it all, not to leave any spots white.

     These techniques are wonderful and sort of magical. The dye flow follows the folds and settles more heavily on the edges of the folds as the silk dries. I do not think that even an experienced Shibori artist could control or predict the exact design results. With less color saturation, this particular folding pattern produces a simpler chevron design. Obviously, my heavier use of dye resulted in a more complex final pattern.


detail from one end
detail from the other end
     A few more details for those of you who are interested in my process: I folded this 11" x 60" silk scarf lengthwise just four times rather than the six times used on the coral scarf. Then, the diagonal folds were made in a back and forth triangular pattern rather than the flag fold used on the ends of the coral scarf. Each fold was pressed as I worked. The result was a long folded strip rather than the triangular packet of the flag fold technique. I folded the strip in half lengthwise, soaked it with water, and placed it in a large aluminum foil pan to dye. Soaking a brush (about 3/4" wide) in one color after another, I saturated various areas, some larger than others. The scarf air-dried for more than 24 hours. When I unfolded it, magic!

     There is a link to an earlier post about the flag folded coral scarf above. One other Shibori inspired scarf using a twisting method stars in another previous post. Both posts credit the author and book that guided my experimentation; this brown, rust, and beige scarf also followed directions from that wonderful book, adapted my own way.

Question of the day: My landscape painting and silk scarf dyeing and painting give me a variety of creative experiences, some mostly under my control and some free form and surprising like Shibori dyed scarves. Do you prefer one kind of creativity over the other--loose or controlled? I thrive on both.


Monday, June 29, 2020

Orange, Red, and Gold Hand-Painted Silk Scarf Using a Shibori Technique


     If I had kept track of the time spent making this 60" x 11" scarf, you might be surprised. It was more complicated than you would guess. This is the first time I have made a scarf using the arashi shibori technique (arashi means "storm" in Japanese--maybe referring to the wavy patterns' resemblance to thin clouds). A library book called Shibori by Elfriede Moller was my guide, although I modified her technique some. Here are a few scarves I made with other kinds of shibori techniques.

     Using a chunky foot-long piece of PVC pipe, I attached the 11" end of the blank white silk scarf near the top with masking tape. The two corners did not overlap; this allowed for just one layer of the scarf to wrap around the pipe. Then, with pale crochet cotton tied around the pipe and secured with tape (this can be done with thicker string or any thread as well), I wound the crochet thread around the scarf on the pipe many times in a random pattern. After a section was wound with thread, it was scrunched up and the next section wound--until the entire length of silk was tightly gathered on the pipe. The tape had to come off so that it did not block the dyes.

Close-up detail
    Tying off the end of the thread, I then wet the silk well so that it was soaked through but not dripping wet. This helps the dye to spread, to blend, and to penetrate the folds. Then, with a dropper and sometimes a brush, I pushed a few colors of French silk dyes into the fabric. The technique allows for many variations; the internet has a number of examples if you'd like to see more. My goal was to color the entire scarf, but other artists leave white areas. The silk can also be folded and then wound onto the pipe. Depending on the pattern of the folding, the wavy stripes can run in more than one direction when the piece is completed (here is one example).
Close-up of the other side

     Once the piece is dry (24 hours or more), you can snip the string or thread and enjoy the big reveal. I used four dye colors, but found that one dominated the resulting scarf. The colors are called grenat (a brownish red), ruby, orange (a blend I made of coral and a bit of yellow), and a sort of gold (a blend of yellow and a bit of rich sienna). As you can see, the coral blend took over many areas--not really surprising since it has proven to be quite strong other times I've used it. Yet, the result did surprise me. So this project was a learning experience and an adventure that will help guide the next time I use the arashi shibori technique.

Question of the day: Do you enjoy experimenting with crafts or other projects--even when you don't know how they will turn out?

Thursday, July 30, 2020

Rose, Pink, and Grey Hand-Painted Silk Scarf Using Shibori Technique

 OK, things are working better, but I don't know why this post appears after my earlier frustration rant. Today's date is August 31, 2020, and I'm thrilled to be able to communicate with you again.   

I am enjoying some new French silk dye colors and chose this combination of colors--rose, pink, and grey--to see how the new pink works. As expected, the rose is powerful enough to partially invade areas I had planned to be pink, but overall, I am very pleased with the results. Given that I don't look great in strong rose tones, this is a scarf made for someone else. We'll see who that turns out to be.
Close-up detail near one end

     Japanese shibori techniques like this one require a fair amount of preparation; then the actual application of the dyes goes quite quickly. For this design, I press lengthwise accordion folds in the scarf--in this case dividing the 11" width into fourths. In my first try--very much a learning experience--with this particular shibori design, I divided the scarf width into sixths. Making four folds works much better for the 60" x 11" scarf. After the four long accordion folds, I made angled folds in alternating directions and pressed them in.
Detail near other end

     Finally, I soaked the folded strip with water to help disburse the dyes and applied my chosen colors with well-loaded brushes, pushing the dye into the folds. A more complete description of this particular shibori process to create a brown, rust, and beige scarf is in a previous post.

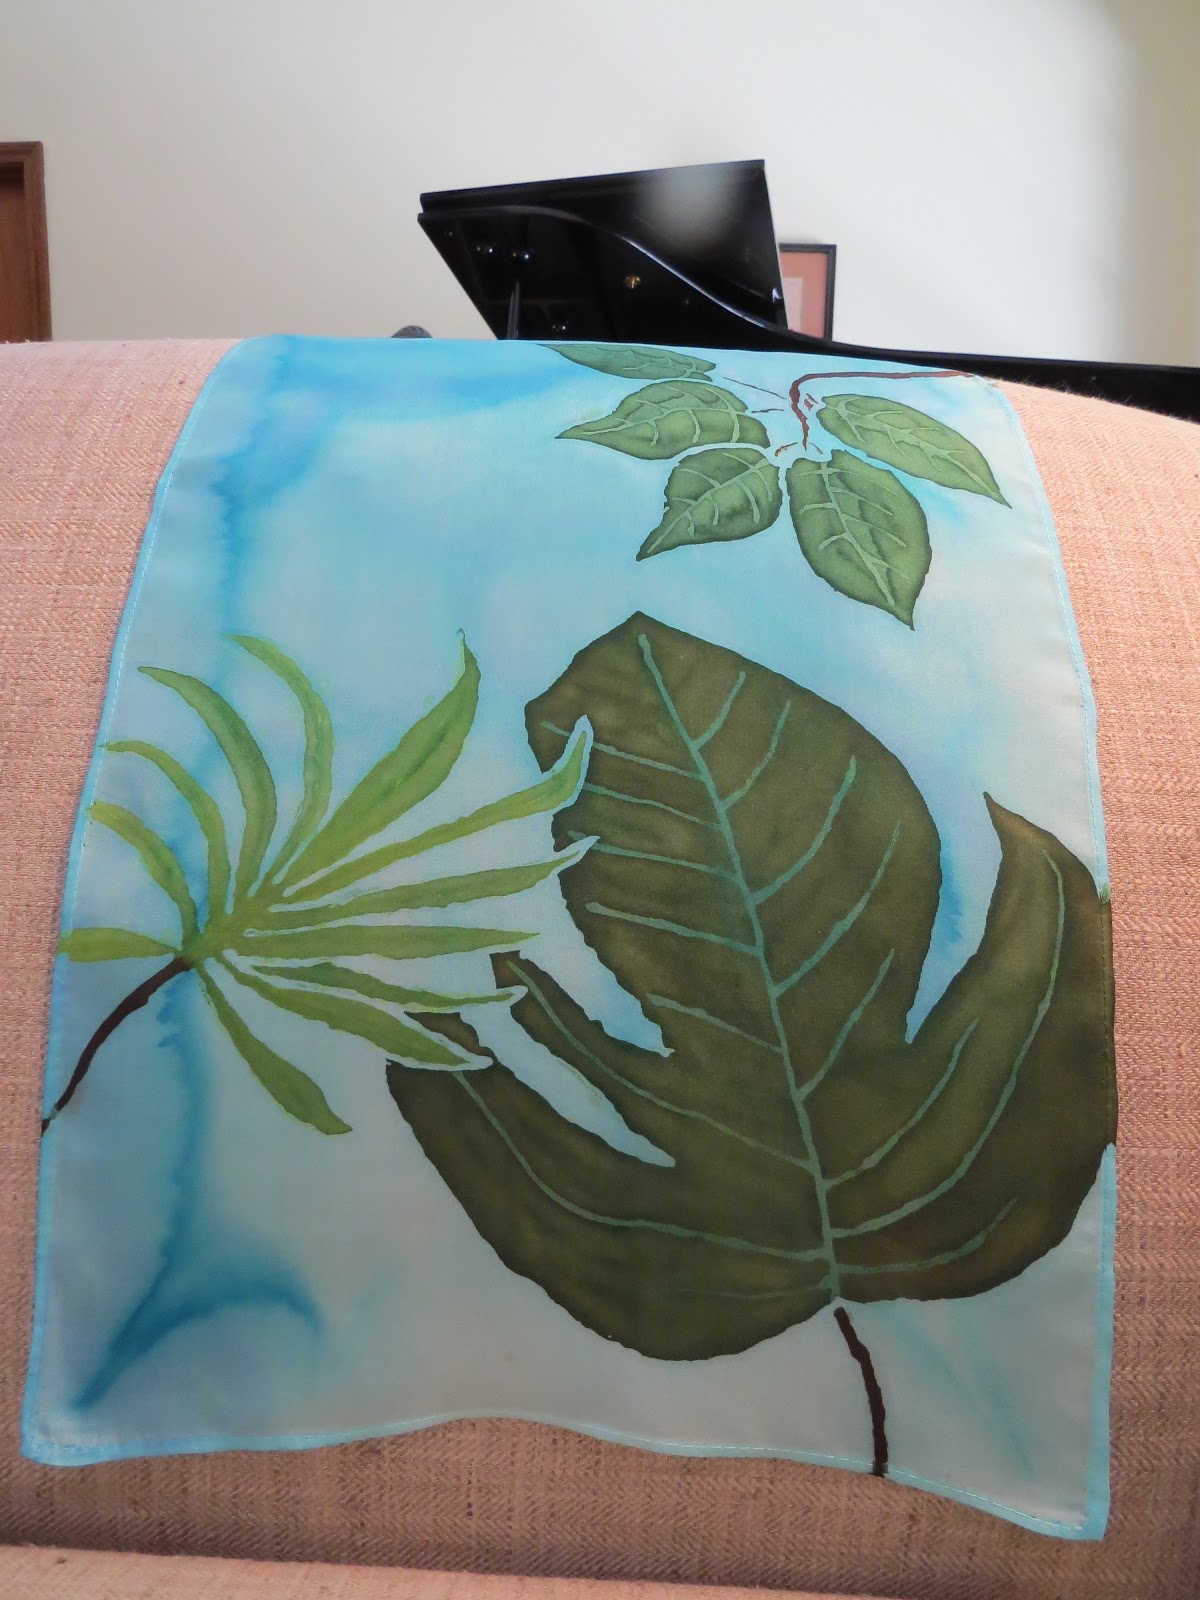
     For my wonderful blog friend, fine artist, and creative woman with a super sense of fun, Jo Castillo, here are a couple photos of another scarf. Since I couldn't wait to post it, this tropical leaf design scarf appeared before the final processes were completed. Jo Castillo commented that she would like to see how it looked once the gutta resist outlines were soaked out. It is shown below, although the colors are a bit stronger than in these photos; they show up better in the older post. Thank you, readers, for your continued comments and interesting reflections.

Question of the Day: What are your favorite wardrobe colors?

Tuesday, May 29, 2018

Coral and Rose Hand-painted Silk Scarf Using a Shibori Technique


The completed silk scarf
     This hand-painted silk scarf was an experiment using a technique derived from traditional Japanese shibori silk dyeing methods. For the 60" x 11" silk scarf, I chose three dye colors, an orange-toned coral, a mix of coral and yellow, and rose. 

     To make this design, I accordion-folded and ironed the blank white scarf lengthwise in 6ths and then folded it back and forth in triangles somewhat like the ceremonial folding of a flag, ironing the folds as I worked. I used wooden clothespins to clip the three corners and hold the folds in place. The exact directions (with diagrams) are in Fabric Surface Design by Cheryl Rezendes (from our wonderful public library). In a previous post, I showed you a scarf made by twisting before dyeing, the idea taken from the same book.
When scarf is first unfolded
Center section-vertical folds only

     Only the ends of the scarf were folded, which was not my plan, but happened because folding the entire scarf would have made too thick a bundle to handle. I knew that leaving a section in the middle simply accordion-folded would also create a nice effect and would give the scarf some variety. 

     Also an accident (this was my very first effort at a folding technique, after all) was the different color saturation of the two ends of the scarf. After making and clipping the flag folds, I set one edge of the folded triangle in a flat dish with about 1/4" of dye in it (as the book directed). It all promptly fell over, soaking that part in coral dye. I quickly pulled it out and used a brush to soak each of two sides of that triangle with each of my other colors (on top of the unwanted extra coral). On the other end, I just saturated the three edges, each with one of the three colors (no dish of dye=no danger of the bundle taking an unintended swim).
The end that "took a bath" in coral dye
The second end completed--brushed on color only

    Finally, I brushed a generous amount of dye on the edge of each long strip in the center section and let the whole thing dry for a couple of days. 

     I enjoyed this experiment and will be better prepared to make a future scarf using the flag fold technique--perhaps one with only 4 lengthwise folds and with different colors.

Question of the day: What recent creative experiment have you enjoyed?

Saturday, March 31, 2018

Coral and Olive Twist--a Hand-painted Silk Scarf

Coral and Olive Twist Hand-painted Silk Scarf
     I made this silk scarf in coral, sage, and olive hues by a different method than my usual technique of painting on a scarf stretched on a frame. For this scarf (and one other I'll show you soon), I used twisting or folding techniques that do not require a stretcher frame.

Another view, before the scarf was steam-set and pressed
     The technique came from a library book. The "Fold and Color" chapter in Fabric Surface Design by Cheryl Rezendes (published in 2013) presents step-by-step guidance for a number of  designs--some have roots in Japanese shibori hand-dyeing and others are reminiscent of tie-dyeing. 

     For this scarf, I twisted a 60" x 11" plain white silk scarf tightly (the author suggested fastening one end to something; instead, I asked my husband to hold one end while I twisted the other). Eventually, the twisted scarf began to fold in on itself; at that point, I folded the twist in half lengthwise and secured the ends together with a rubber band.


Detail view
     Placing the twisted bundle on a plastic tray, I then used an eye dropper and sometimes a brush full of paint to drop coral and olive dyes alternately (but not in a perfectly even pattern) on the folds of the twist. I soaked the areas well with dye, but with uneven saturation. Sometimes I let the colors run together, which I knew from earlier testing made a nice brownish hue. Of course, I turned the twist over and made sure all sides had adequate dye.

     After letting the scarf dry thoroughly (it took a couple of days until I had time to go back to the project; it was probably dry after 24 hours or so), I opened it out to discover the pattern you see here. Since I used French silk dyes, the scarf required steam setting, so I waited until I had 3 other pieces to make a batch. Then, I steamed, washed, and pressed it.

     For those interested, I obtain all my silks, French silk dyes, and other tools and supplies at Dharma Trading and have had excellent service from them. These two colors, Olive Green and Coral Red, are Tinfix brand, made in France by Sennelier. Some of my dyes are made by Dupont, a former French company I believe is now in Belgium.

Question of the day: Do you haunt the library and sometimes find fun how-to books there, or do you use information or videos from the internet--or both?